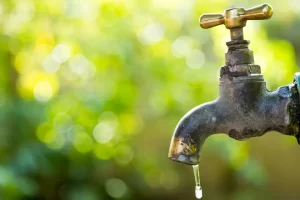
A leaky faucet constantly dripping can waste a significant amount of water over time. Did you know, if a faucet drips once per second, it can waste about 3,000 gallons of water in a year? This is enough water for 180 showers! While a leaky faucet seems like just a small annoyance, it wastes both your water and money. Don’t wait to fix your leaky faucet! Learn how to perform this easy home plumbing repair with our helpful guide.
1. Gather Supplies
First, you will need to gather supplies to complete your DIY plumbing job. Inspect your faucet and see which type of screwdriver is needed to remove the handle, and purchase a new cartridge and O-rings if you know the model number. You will most likely need a Phillips head screwdriver, flathead screwdriver, Allen wrench, or hex key to remove your faucet handle.
2. Turn off the Water
Before you begin any work, turn off the water supply to your sink. This can be done by turning the water shutoff valve underneath the sink. You should also turn on the sink to let the remaining water in the line drain out.
3. Take off the Faucet Handle
Using the correct screwdriver or tool, unscrew the handle of the faucet. Then, remove it from your sink and set it aside.
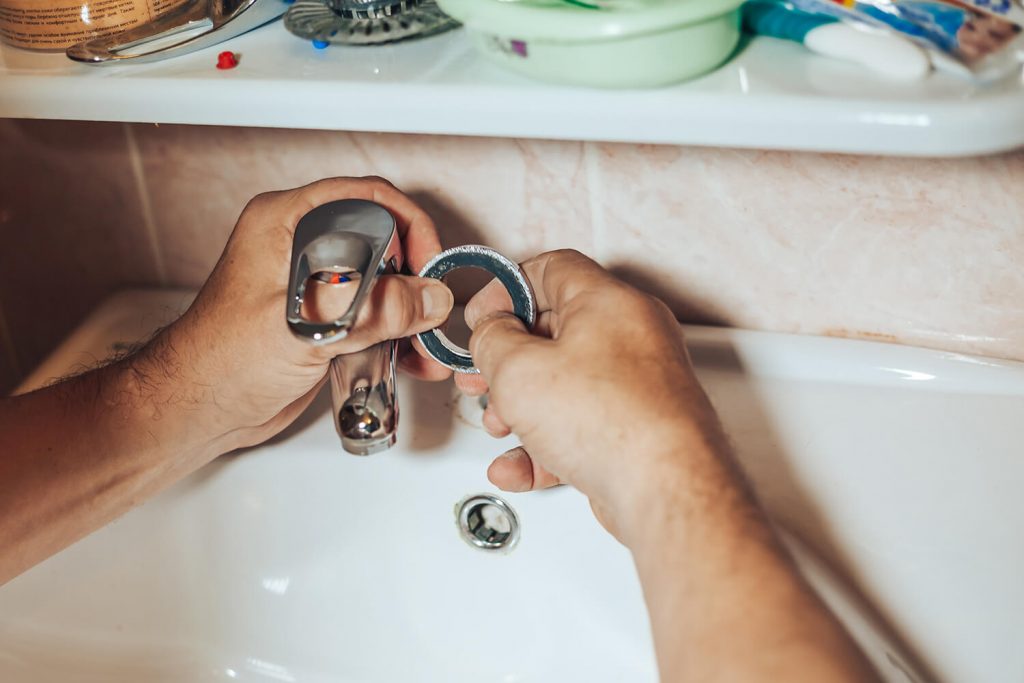
4. Remove the Cartridge
An old cartridge is the cause of most dripping faucets as is controls the flow of hot and cold water. Loosen the packing nut with a wrench and then pull up on the cartridge to remove it from the faucet.
5. Insert the New Cartridge
If you have not already purchased a new cartridge because you do not know the model number, bring your old cartridge to the store so you can match it exactly. We recommend also checking the O-rings for signs of wear, and purchasing new ones if they are too worn down. Once you have the new parts, insert the cartridge, and use a wrench to tighten it into place.
6. Reattach the Faucet Handle
Place the handle on the faucet and screw it back into place. Then, turn the water valve under the sink back to the “on” position. We recommend also turning on the faucet to test if both cold and hot water are flowing properly. Over the next few days, check your faucet occasionally to ensure it is no longer dripping.
If you have finished your DIY repair and find your faucet is still leaking- this may be a job for the professionals! The licensed plumbers at T.J. Huggard Plumbing can get your faucet repaired in no time, and will also inspect your plumbing for additional problems. We’re proud to be a local business serving our community’s plumbing needs!