Winter’s icy grip can take a toll on your home’s plumbing. In this guide, we’ll provide a step-by-step plan for handling a frozen main water line, offering quick solutions to thaw the pipes and prevent further complications.
Understanding the Issue
Before diving into the emergency thawing process, it’s essential to understand the potential risks associated with frozen water lines. When water freezes, it expands, and this expansion can exert tremendous pressure on pipes, leading to cracks or even bursts. The goal when thawing a frozen main water line is to gradually restore the flow of water without causing further damage.
Step 1: Identify the Frozen Section
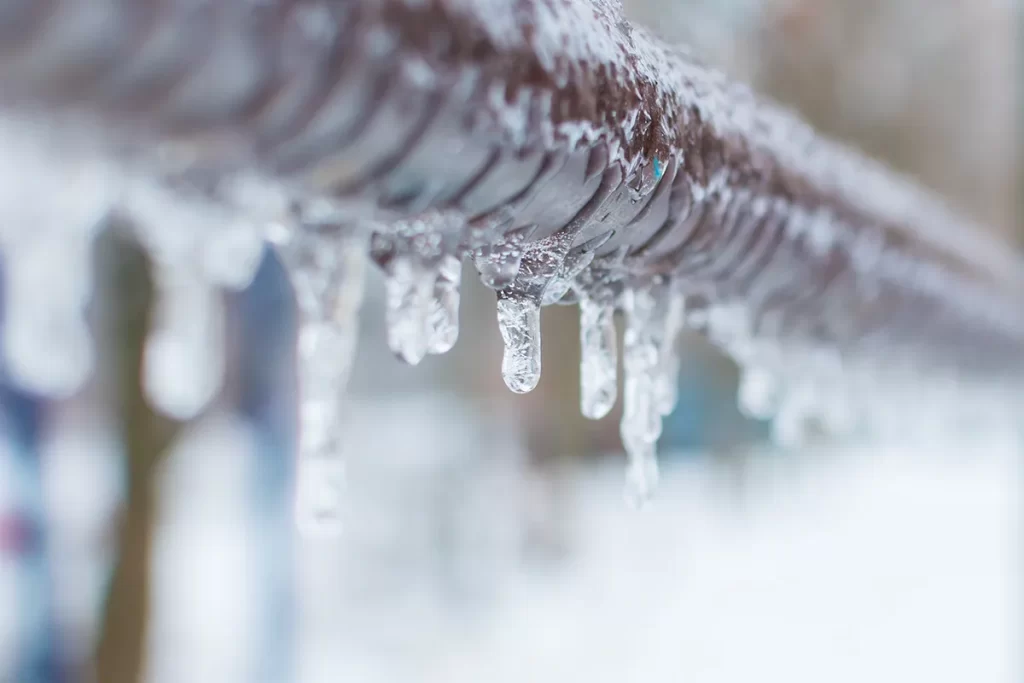
The first step in addressing a frozen water line is to identify the affected section. Signs of a frozen main water line include reduced or no water flow from faucets, strange noises in the pipes, and, in extreme cases, visible frost on exposed pipes. Start by turning on various faucets throughout your home to determine which areas are affected.
Step 2: Turn Off the Water Supply
Locate the main shut-off valve for your water supply and turn it off immediately. This step is crucial to prevent any potential leaks or bursts when the ice begins to thaw. If you’re uncertain about the location of the shut-off valve, consult your home’s plumbing schematic or contact a professional plumber for guidance.
Step 3: Open Faucets to Relieve Pressure
With the water supply turned off, open all the faucets connected to the frozen water line. This helps relieve built-up pressure in the pipes, reducing the risk of further damage. Leave the faucets open throughout the thawing process to allow water to escape as the ice melts.
Step 4: Apply Heat to the Frozen Section
Now, it’s time to apply heat to the frozen section of the main water line. Several methods can be effective:
- Hairdryer or Heat Gun: Use a hairdryer or heat gun to gently warm the affected area. Start at the faucet end and work your way toward the frozen blockage. Keep the heat source moving to avoid concentrating heat in one spot.
- Hot Towels or Rags: Soak towels or rags in hot water and wrap them around the frozen pipe. As the towels cool, replace them with freshly heated ones. This method provides consistent, gradual heat.
- Electric Heating Pad: If available, wrap an electric heating pad around the frozen pipe and set it to a low or medium temperature. Monitor the area closely to prevent overheating.
- Space Heater: Position a space heater near the frozen section, ensuring proper ventilation. Space heaters are effective for thawing larger areas, but exercise caution and follow safety guidelines.
Avoid using open flames, propane heaters, or any high-temperature devices near pipes, as they pose a fire hazard.
Step 5: Thaw Gradually
Patience is key when thawing a frozen main water line. Avoid using excessive heat or force, as rapid thawing can lead to pipe damage. Allow the heat to work gradually, periodically checking the progress by turning on nearby faucets. If you notice water flowing, it’s a sign that the ice is melting.
Step 6: Continue Thawing Until Water Flow is Restored
Continue the thawing process until water flow is fully restored. Keep faucets open during this time to allow any remaining ice to melt and escape. Once you are confident that the frozen section is completely thawed, close the faucets and slowly turn on the main water supply.
Step 7: Inspect for Damage
After restoring water flow, inspect the pipes for any signs of damage, such as cracks or leaks. If you discover any issues, it’s crucial to address them promptly to prevent further complications. In some cases, professional assistance may be necessary to assess and repair the damage.
Preventive Measures
To minimize the risk of future frozen water lines, consider implementing the following preventive measures:
Insulate exposed pipes: Add insulation to pipes in unheated areas, such as basements, crawlspaces, and attics.
Seal cracks and gaps: Ensure that your home is well-sealed to prevent cold air from infiltrating and affecting the plumbing.
Maintain a consistent temperature: Keep your home heated, even when you’re away, to prevent freezing.
Allow faucets to drip: Allowing faucets to drip during extremely cold weather can help prevent freezing.
Dealing with a frozen main water line can be a stressful situation, but with the right approach, you can thaw the pipes and prevent further damage. Identifying the frozen section, turning off the water supply, applying gentle heat, and thawing gradually are crucial steps in the process. Remember to exercise caution, and if you encounter difficulties or suspect damage, don’t hesitate to seek professional assistance. By staying proactive and implementing preventive measures, you can protect your home’s plumbing from the challenges of winter weather.